Node
Now that we’ve installed Wings, all we have left to do is configuring a node - this will let us create servers from our panel
Configuring the Node
Section titled “Configuring the Node”Log in to your newly-installed Pterodactyl Panel using the credentials you provided for the administrative user. Go to your admin view and select “Nodes” from the sidebar and click the blue “Create New” button


SSL Certificates
This tutorial assumes your panel is using SSL.
If your panel is using SSL, so will your node. Before continuing, run the following command:
cobalt@ptero-server:~$ sudo certbot certonly --nginx -d node.example.com # replace the example domain with your own...Fill in the required information (name, memory, disk, FQDN) and click the green “Create Node” button.
Cloudflare Proxy
If your node’s FQDN is behind Cloudflare and using the “Full” SSL option, click the “Not Behind Proxy” radio button

After you’ve created your node, go to the Configuration tab.

You can configure the node one of two ways
Configuration File
Section titled “Configuration File”Copy the YAML code block and open a file called /etc/pterodactyl/config.yml as root. Paste and save the contents
Restart Wings to have the changes take effect
cobalt@ptero-server:~$ sudo systemctl restart wingsAuto-Deploy
Section titled “Auto-Deploy”Click the “Generate Token” button and copy the shell command provided into the terminal.

Restart Wings to have the changes take effect
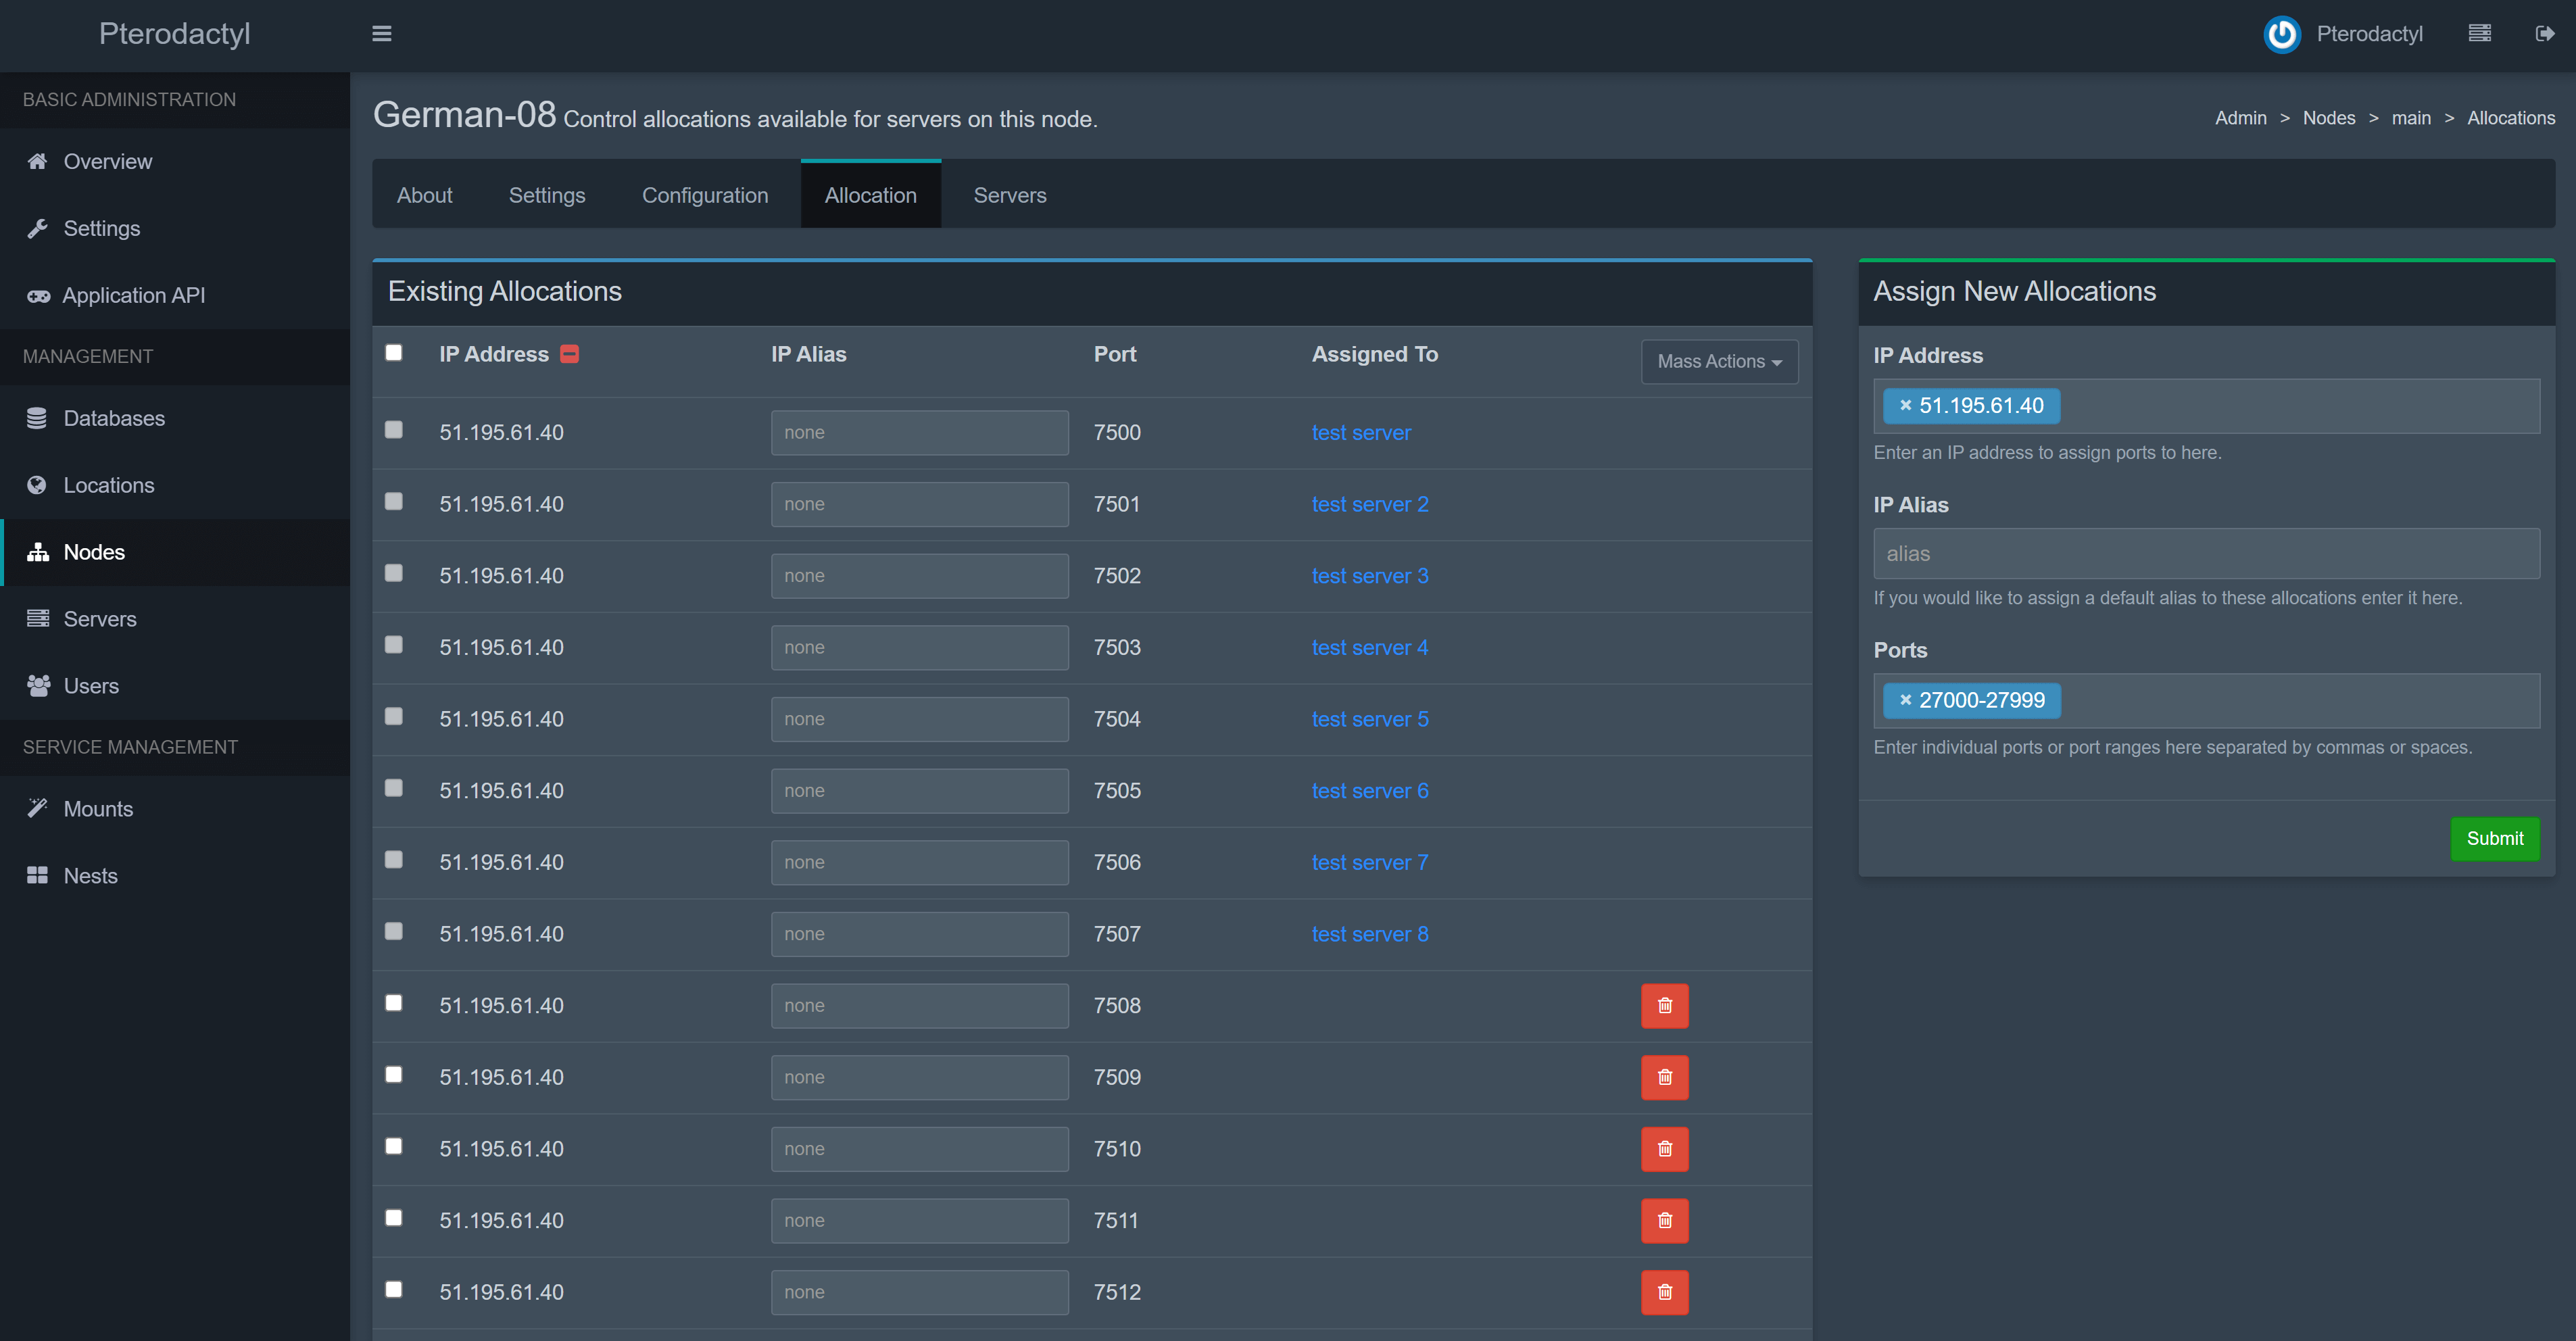
cobalt@ptero-server:~$ sudo systemctl restart wingsAllocations
Section titled “Allocations”An allocation is an IP address and port you can assign to a server - every server must have at least one of them. Typically, the IP of each allocation would be the IP of your network interface - if you’re behind NAT, it will be your local IP. To create an allocation, go to Nodes > Your Node > Allocation
Congratulations! You have completely configured Pterodactyl and are ready to deploy servers! Feel free to consult the next guide, which covers additional, optional configurations